

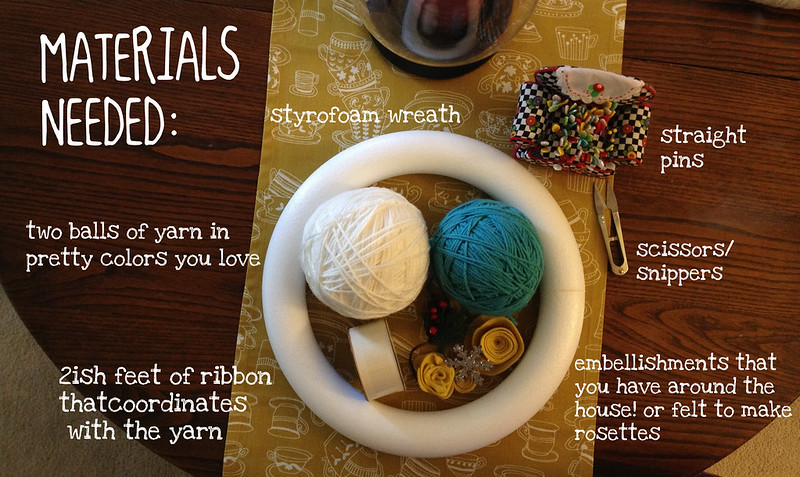
I shared this picture of a wreath I made for our front door a while back and thought that it was high time for a tutorial so you can make one of your very own! This is a kinda tutorial though because the mustard rosettes were a gift from the lovely April at Sew to Speak (IE, I don't know how to make them myself), but I'll provide you with instructions on how to make the rest of the wreath, along with a link to read tutorials on how you can make your own felt flowers! Or, just make friends with April and maybe she'll spoil you with some because she's sweet like that. ;)
First, tack a piece of yarn (using a straight pin) to the wreath form, leaving approximately a 3-4 inch tail left over. Where the straight pin is will be the back of your wreath. Then wrap the yarn neatly around the wreath; for the wreath shown above, I wrapped each section of yarn around 40 times before switching to the next color.
Remember that when you're wrapping the yarn to be concerned with how nice and neat the front of the wreath is and not how the back is. The back will look a hot mess but that's ok because you won't be looking at that when it's done, you'll be looking at the front! :)

After you've wrapped the first color approximately 40 times around the wreath, it's time to move onto color #2!
However, I have to digress. when finishing up with color #1, leave approximately a 3-4 inch tail of yarn and tack that down along with the start of color #2 which should also have a 3-4 inch tail, as shown below.

When you start wrapping the second color, you'll wrap over these two ends, securing them snuggly to the wreath.
 |
| See how nicely that works? |

 |
| "Less talk! More work!" |
This is what the back of my wreath looked like when I was finished-
 |
| Hot mess, no? PS- that's my Christmas wreath in the background that I made the same way as this blue and white winter one. |

Now it's time for the fun part- embellishing! :)
I'm a big saver of things (though I heart purging too- it's an odd dichotomy) that I think will be useful in the future. Pretty little do-dads and ribbons that come on gifts, little hangy things that come on holiday candles- anything that is charming and that I think I can find a home for later!
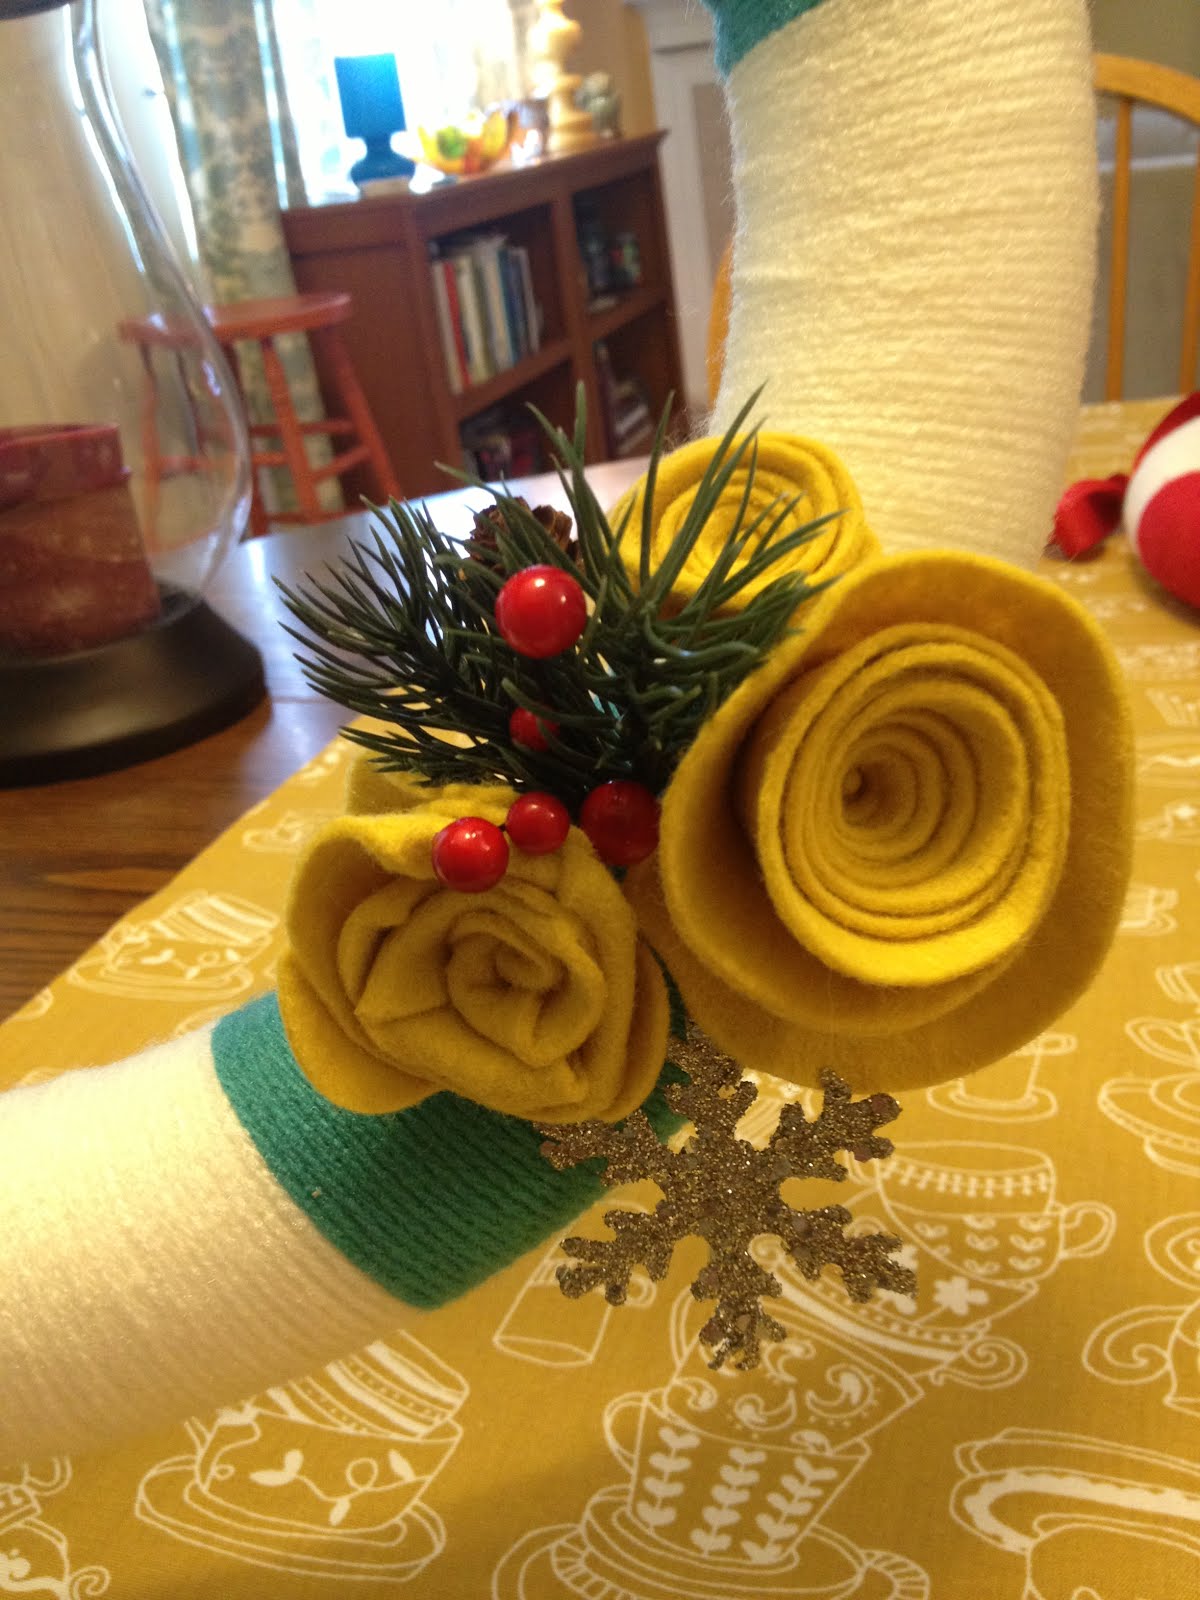
To embellish this wreath, I used some fake holly bush greenery that once came on a Christmas gift (you can find any manner of silk floral goodness at a craft shop though), a silver star that had lost it's home after Christmas and the pretty mustard rosettes that April sent to me. Now, I have to have homegirl teach me how to make these rosettes but I did find a few tutorils from The Crafted Sparrow to share with you so that you can try them yourself. Note: I haven't tried these tutorials but they look pretty good! Also, you should totally check out the rest of that blog- it looks great!

Anywho, back to the wreath!
I simply started placing my embellishments into the wreath using straight pins the same color as the flowers, so they would look like little on purpose centers. :)

I moved the embellishments around a couple of times before I settled on a design that I liked. That's what's great about using straight pins to secure them instead of something like hot glue because it's totally removable- especially if you want to use them for a future project!
Add two feet or so of ribbon to the top to hang it on your door and voila! You're done!

This is a really fun and inexpensive project that you can do every season to welcome your guests to your home with! Truth be told, using itty bitty yarn (like I did) does take a long time to wrap around the wreath form but I knew that going in and I really like the clean look to it. However, there are some really nice chunky yarns that I think would look really nice too! I can imagine a wreath made with really chunky, off white yarn with some red mitten and snowflake embellisments... wouldn't that look cozy for winter?!
Have a great day, friends!

I've been wanting to make one of these forever!! Very cute :)
ReplyDelete